Building a DIY Retro Arcade Cabinet Emulator (MAME) - Part 1
By show of hands... how many of you have heard of a MAME?

Oh, dear... that's not too many hands. Let's start by explaining what that is!
Multiple Arcade Machine Emulators
For those of you who aren't getting really old by now, you might not remember what a video arcade was like. But for the older millennials and all generations older than them, it was an iconic experience: putting a quarter on the screen to indicate that you get the next turn. Shoveling another 400 quarters into the machine just so you could make it to that level in Battletoads that isn't possible to beat unless you're a cyborg.
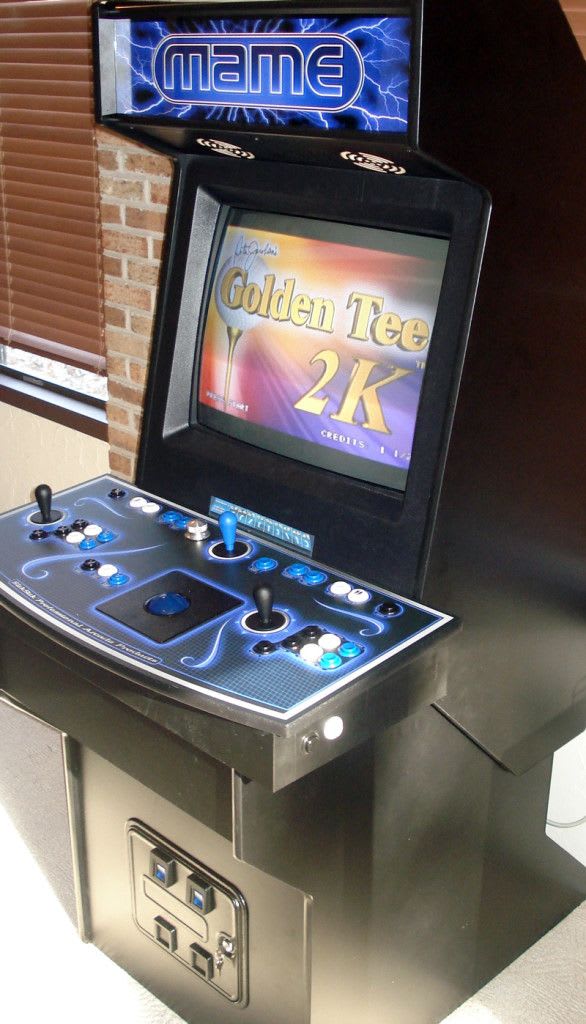
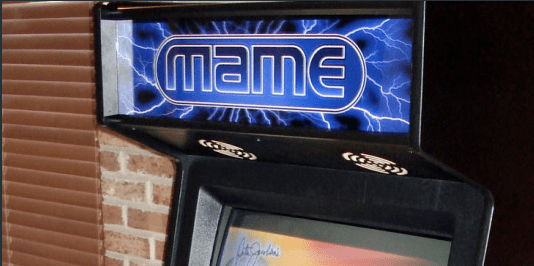
One of my youngest memories was as a child, going to the doctor in my beautiful hometown of Southington, Connecticut. He had an arcade machine just like the one pictured above, except it didn't even cost quarters to play, and you could choose from a dozen different games. It's probably safe to say that those moments were the "peak" experience in my life, and every moment since then has just been a failed attempt to recreate those blessed halcyon days.
Some time late in 2019, my father asked me what I wanted for Christmas. I hardly ever know what I want in life, and usually, I waste all of my money on whatever it is long before my friends and family have a chance to. For this reason, I'm impossible to shop for any kind of gifts for. But what I really want more than anything else these days (and this is true) is to get to spend more quality, one-on-one time with my dad while I still have the opportunity. More and more, I'm realizing that time is the most valuable commodity we have in life, and also, that life is fragile, precious and short.
When Pops asked me what I wanted, for some reason – even though I've been trying to cut back on my "screen time" and have basically given up playing video games for the past few months – I told him I wanted to build an arcade cabinet together. It seems like a really neat project, and my father has some excellent woodworking experience and a damn decent shop of his own in his basement. I figured this would be a great opportunity to learn a little bit about how to build something from scratch, and we could use our collective skills – Dad with the hardware, and me on the software – to make something truly special that I'd cherish for a lifetime.
This past weekend, we got to work and started making it happen!
What does it take to build your own arcade cabinet?
We used a few different things to get started:
- One 6' x 6' foot sheet of baltic birch plywood
- 2 MayFlash F300 arcade sticks
- 2 Sanwa Denshi joystick and button upgrades
- 2-pack of octagonal gates for joysticks
- Some cables to wire up the replacement joystick
- A Raspberry Pi 4B Starter Kit
- A retro arcade controllers 5-pack
- A Sabrent 4-Port USB 3.0 Hub to plug in controllers in the front
- Power cord and 2 power splitter cords
- Nice, big, fast 256GB micro SD card to store the games and operating system
- A basic MP3/Aux cable to connect the audio
- Some super-nifty retro arcade stickers and PacMan decals to make it look TOIGHT!
I already had an old 19" Acer LCD display kicking around from a million years ago, and it has an integrated speaker on it, so we're using that to wire up the sound on it.
OK, I've got the parts... now what do I do?
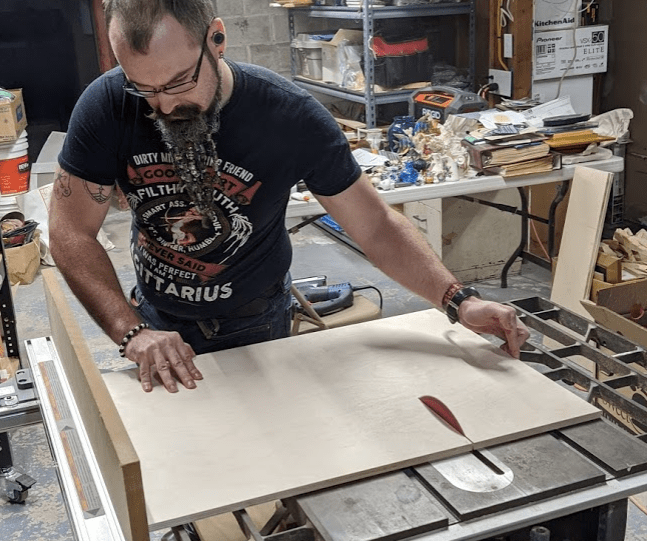
Everything we needed arrived pretty quickly, so we were pretty much good to go. The first thing we needed to do is to build the frame of this arcade cabinet. That meant measuring the display and the controller components, and determining what the size of the whole beast was going to be. We decided to go with a bar-top style cabinet, so it would actually be something that could be moved around by one person without a hernia, and possibly get taken to some of the music festivals where I perform as SmaBoi and with my band, Sonic Source.
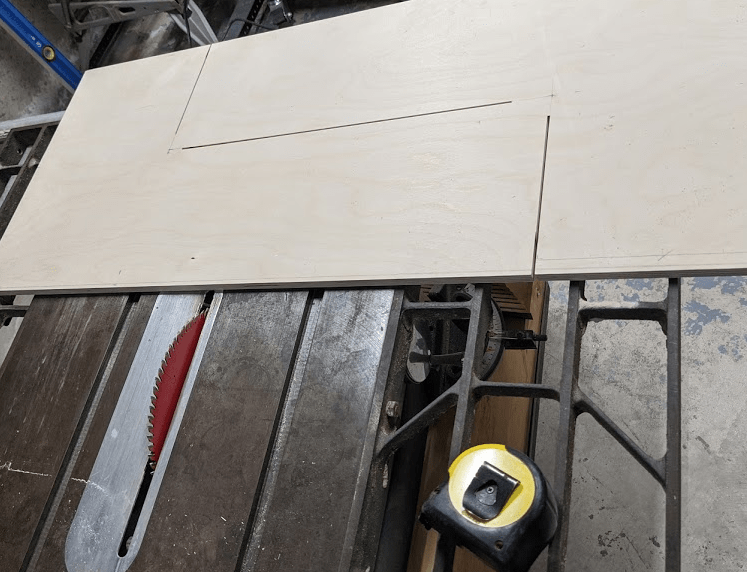
We started by cutting out the sides, as you can see above, with a circular saw, and finishing the cuts with a handheld jig saw.
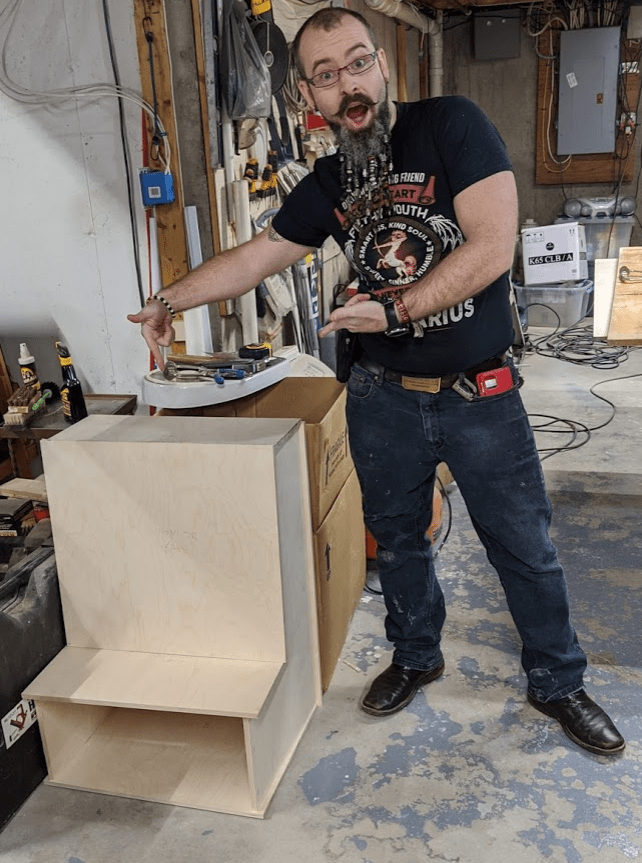
After that, we cut up some more wood for the arcade cabinet's top, base, back, and face frame. Dad had some ideas about how to join the wood so that none of the edges of the plywood show through... more on that later.
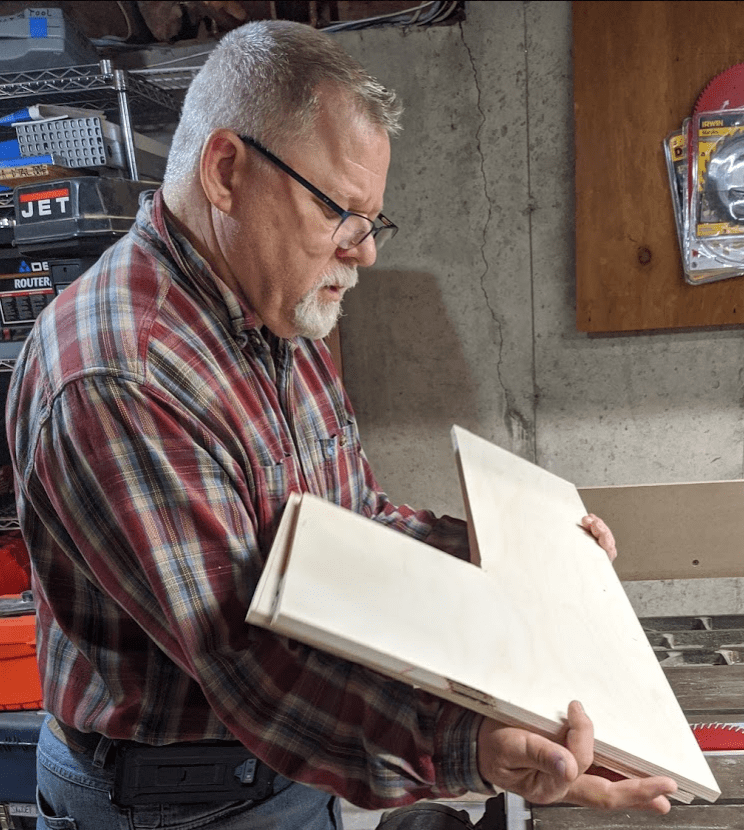
It's starting to look like a bar-top arcade cabinet! Woot!
Surprisingly enough, we managed to get this far without too much cursing, and nobody lost a thumb! (Yet.) We are pretty proud of the progress so far:
Next step is going to be building a drawer that sits inside the cabinet, and cutting out holes in the control surface, into which we're going to integrate the circuitry and components from our MayFlash F300 arcade sticks! But that's coming in the next post... so please stay tuned for the rest of this series, as we continue to build our own home-made arcade cabinet!
Thanks for reading. Please leave some comments letting us know how we're doing so far, and if you have any tips, be sure to share them!
Ready to learn more about JavaScript development, organization and productivity tips?
Click here to read more articles on JavaScript, philosophy and life hacks!